Step-by-Step Guide to Brake Disc Installation and Maintenance
Introduction
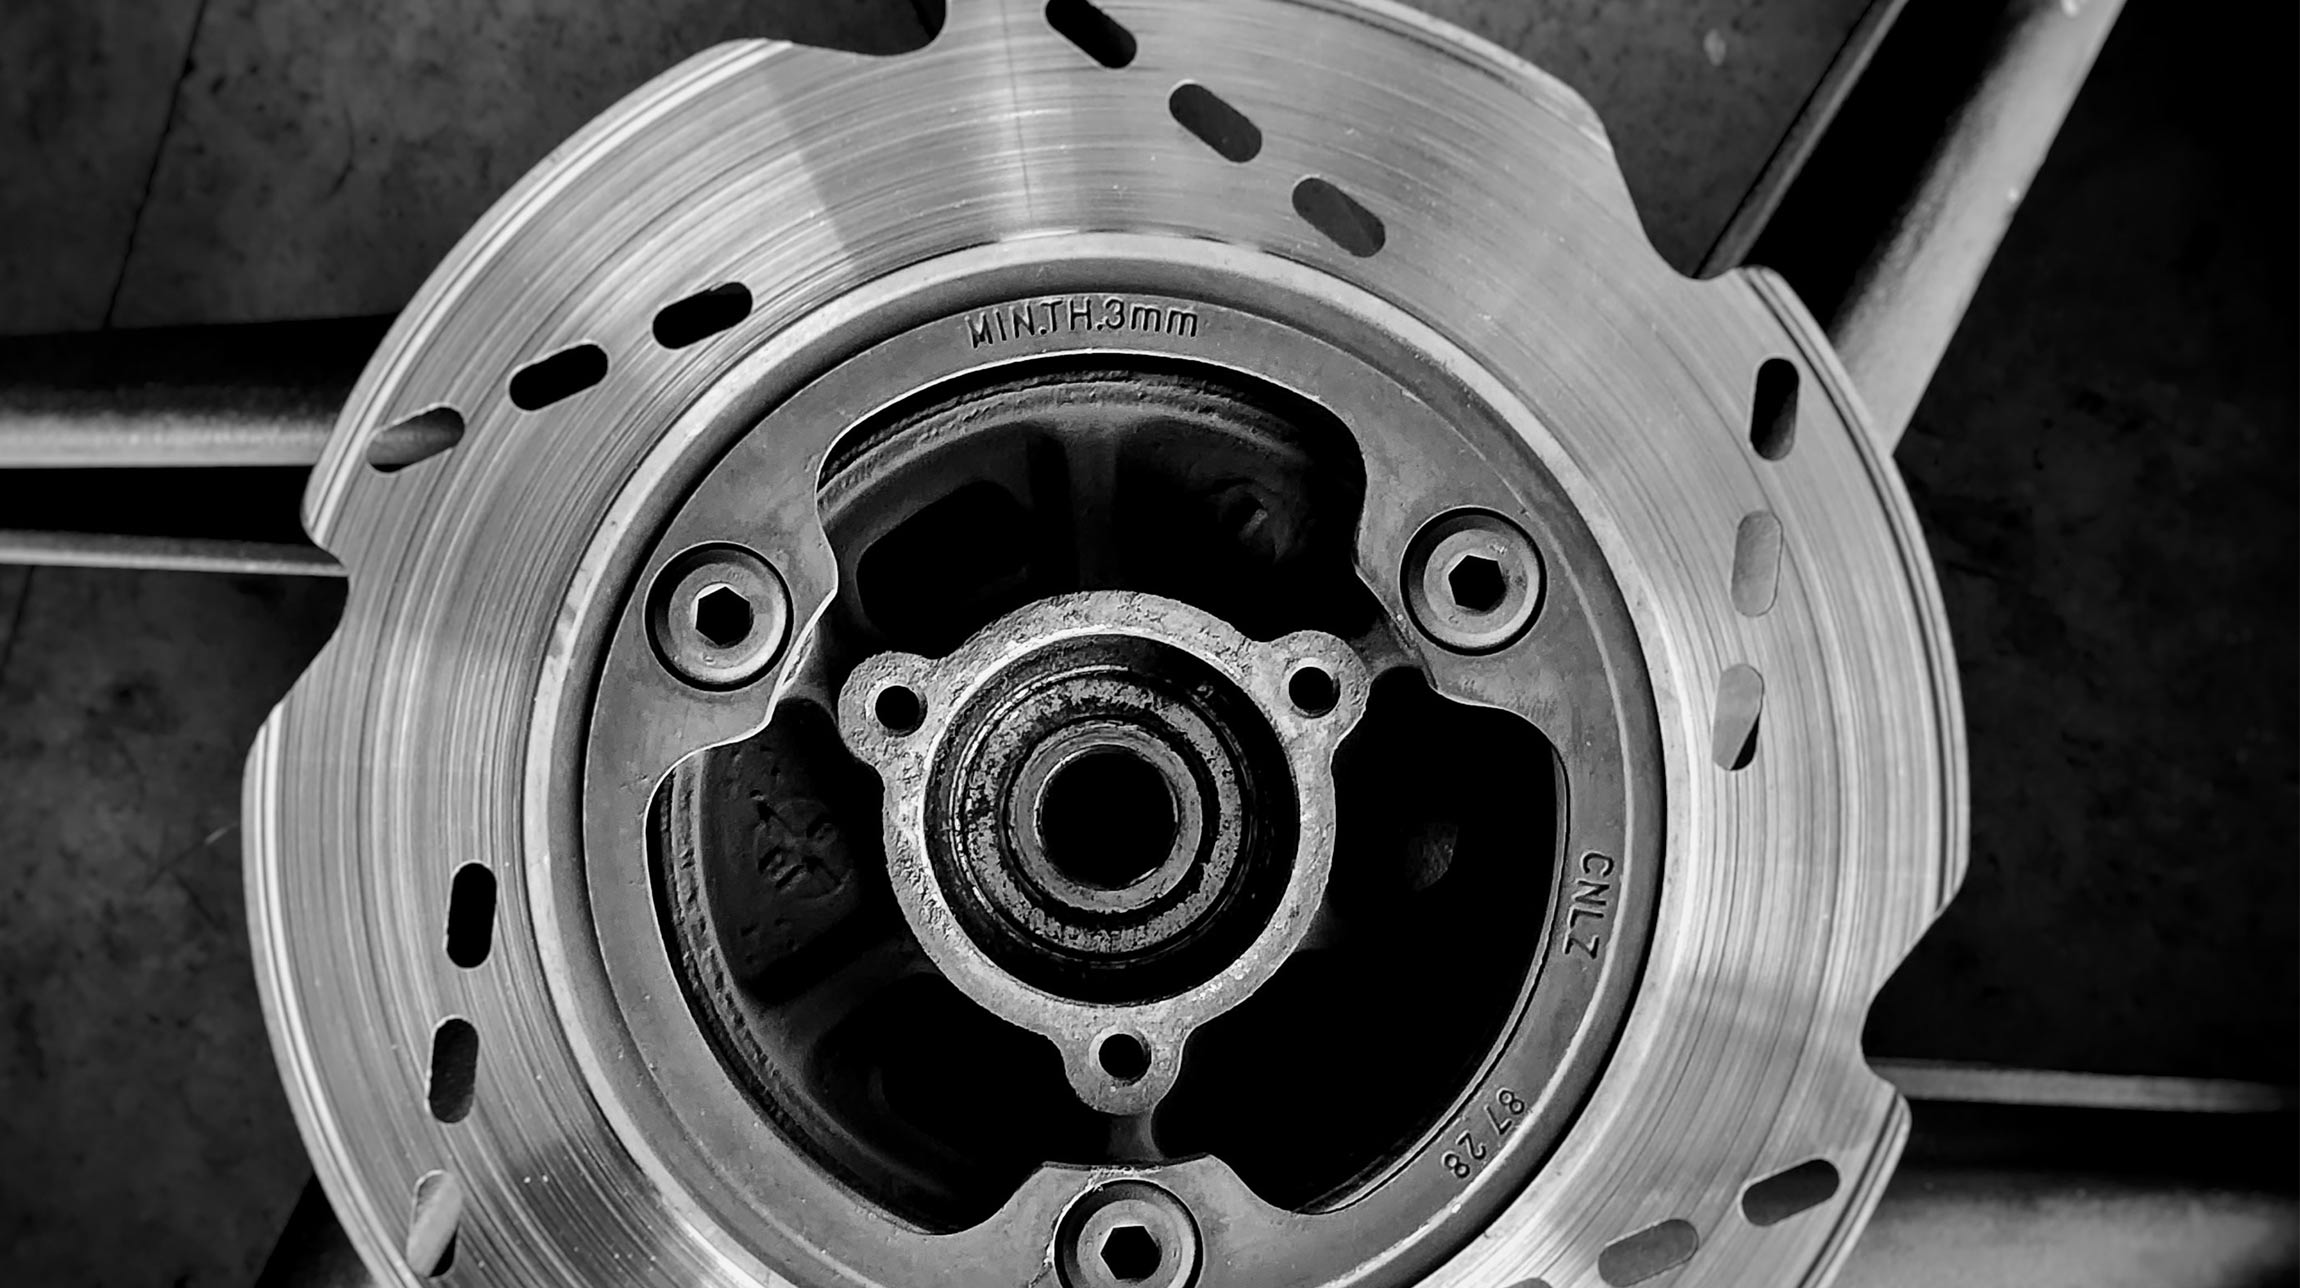
Brake discs, also known as rotors, are essential components in a vehicle’s braking system, playing a pivotal role in ensuring safe and efficient braking. When the brake pedal is pressed, hydraulic pressure forces the brake pads against the brake discs, creating friction that reduces the vehicle's speed. The efficiency of this process not only affects the vehicle's stopping power but also impacts overall safety and driving experience.
The critical role of brake discs in vehicle safety cannot be emphasised enough. Efficient braking relies heavily on the disc condition. Worn or badly installed brake discs can lead to longer stopping distances, reduced vehicle control, and in extreme cases, brake failure.
Proper installation of brake discs involves precise procedures and careful attention to detail. It's not just about replacing an old disc with a new one; it requires a full understanding of the vehicle's braking system. The installation process includes the removal of the wheel, the disassembly of the existing brake setup, and the correct placement of the new disc. Each step must be properly executed to ensure the new discs function correctly and safely.
Regular maintenance, including routine checks for wear and tear, is equally important. Over time, discs can become warped or thinned, which diminishes their effectiveness. Knowing when and how to replace them is a key aspect of vehicle maintenance.
Before embarking on brake disc installation, it is important to gather the necessary tools. Additionally, ensuring a clean and safe working environment is vital. It's also recommended to consult the vehicle's service manual for model specific instructions.

Detailed Step-by-Step Installation Guide
Pre-installation Preparation
Gathering Tools and Safety Measures: Before beginning the installation process, ensure you have all necessary tools. Typically, this includes a jack and jack stands, a lug wrench, a socket and ratchet set, a C-clamp or brake caliper tool, and possibly a torque wrench. Safety equipment like gloves and safety glasses should also be used to protect yourself against debris and injury.
Vehicle Preparation
Park your vehicle on a level surface, engage the parking brake, and place wheel chocks around the wheels that won’t be lifted. This will prevent the vehicle from moving during the installation process.
Step 1: Removing the Old Brake Discs
Wheel Removal: Loosen the wheel nuts. Then using the jack, lift the vehicle until the wheel is off the ground, and secure it with a jack stand. Completely remove the nuts and then the wheel to expose the brake assembly.
Step 2: Caliper and Brake Pads Removal
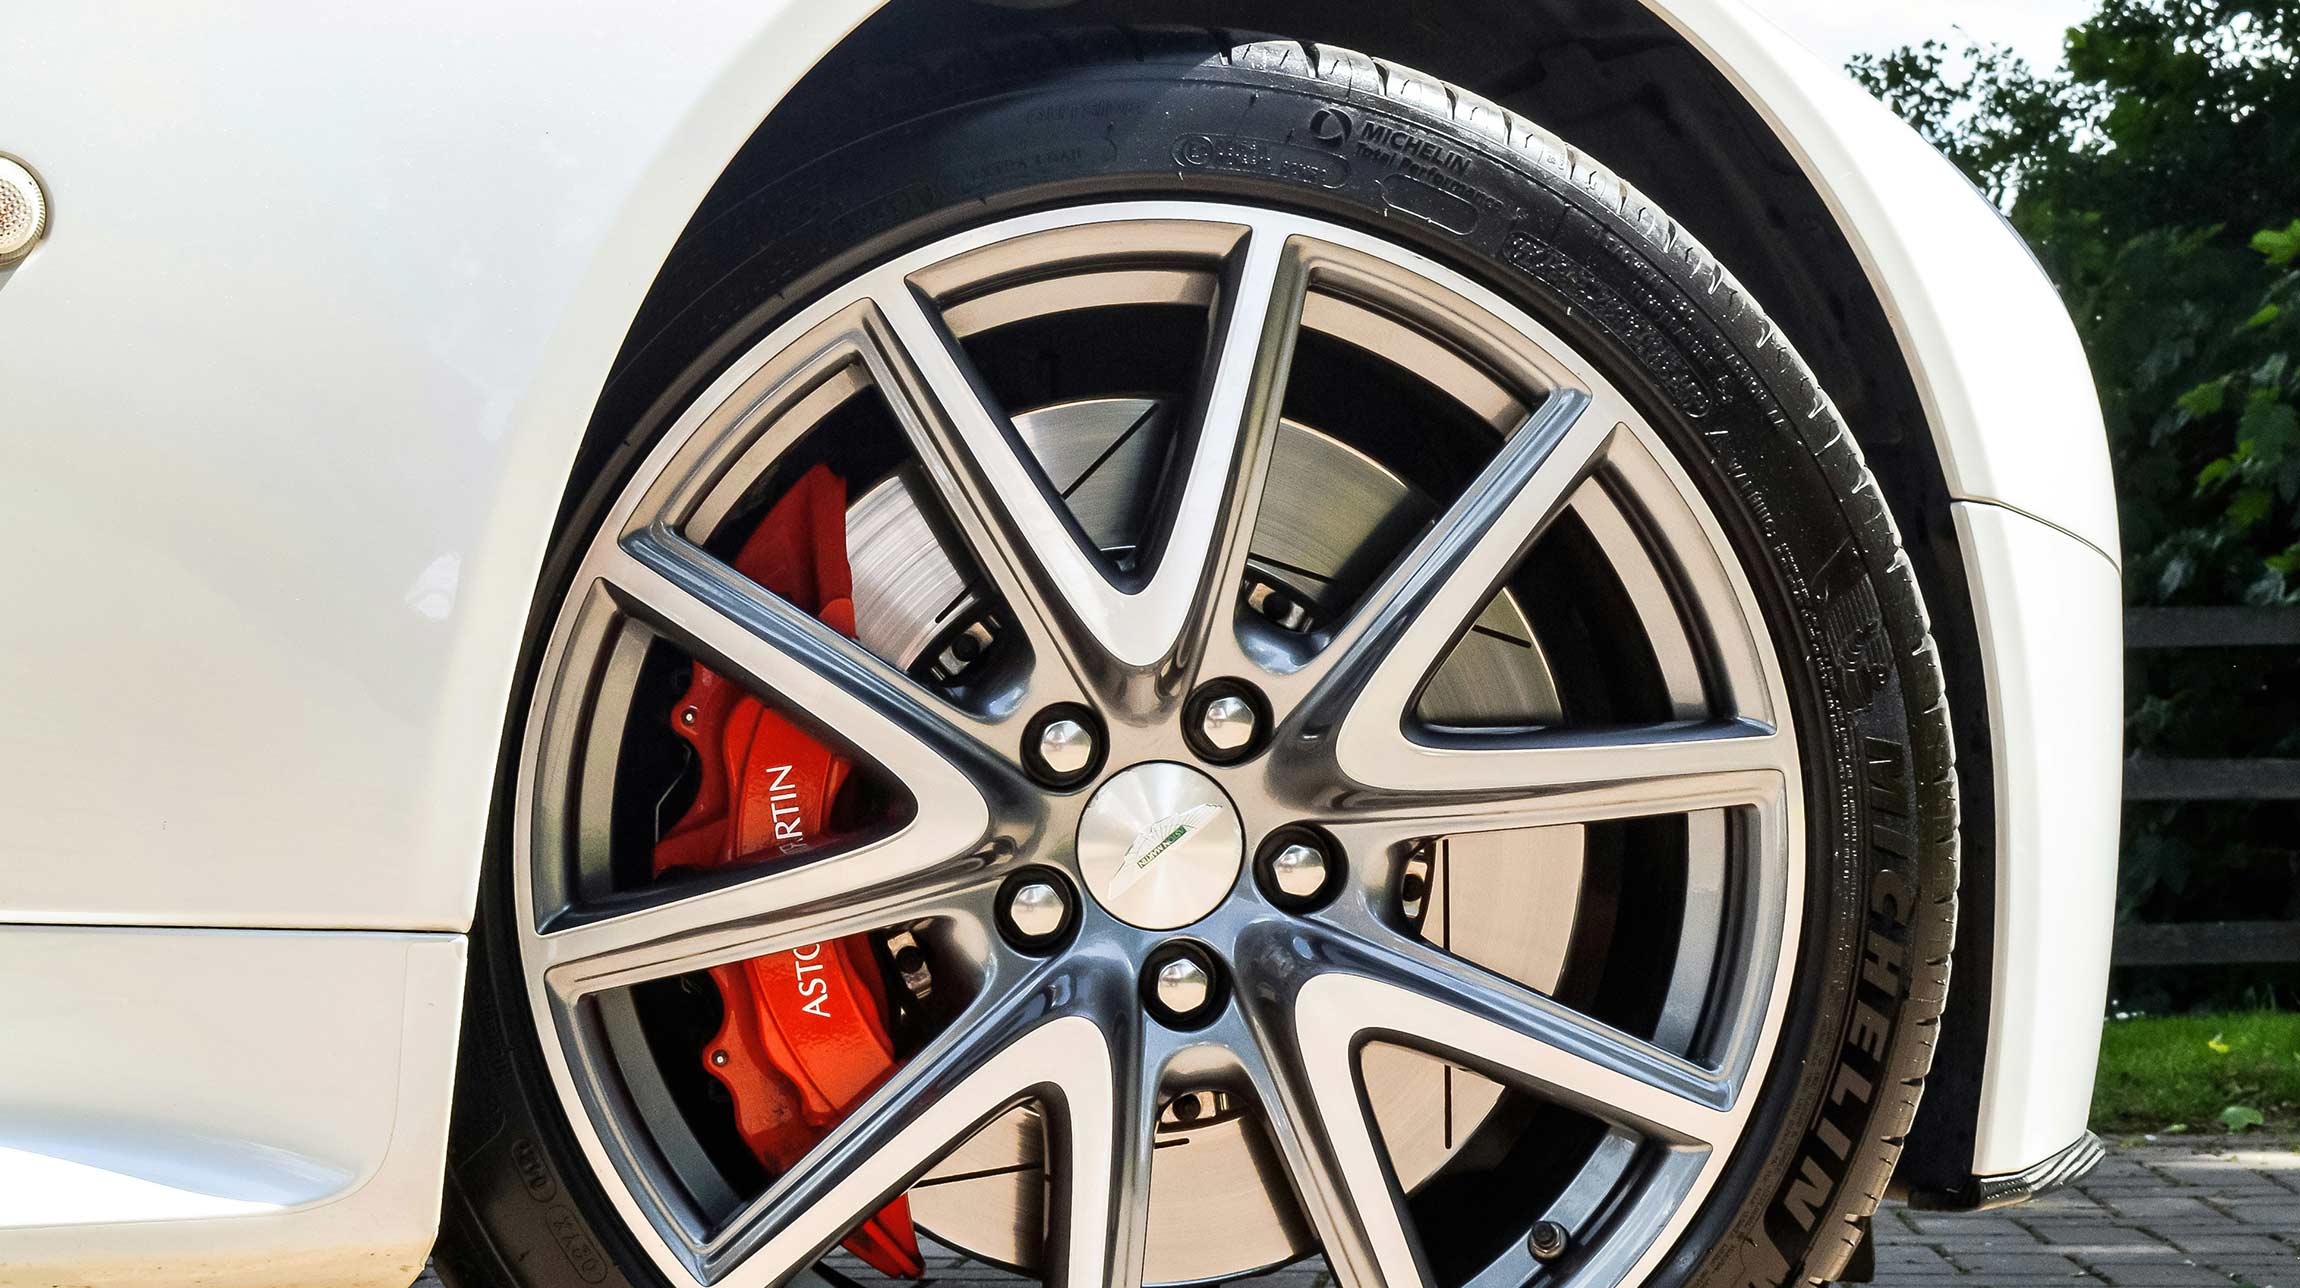
The brake caliper encases the brake disc and needs to be carefully removed. Locate the caliper bolts and remove them using the socket and ratchet set. Once loose, gently slide the caliper off the disc. Secure the caliper with a wire or rope to avoid straining the brake hose. Next, remove the brake pads from the caliper bracket.
Step 3: Removing the Caliper Bracket and Brake Disc
Remove the bolts holding the caliper bracket and set the bracket aside. The brake disc may now be ready to remove. In some cases, the disc might be secured with additional fasteners. If the disc does not slide off easily, it may be necessary to gently tap it with a rubber mallet.
Installing New Brake Discs
Step 1: Preparing the New Disc
Before installation, clean the new brake disc with brake cleaner to remove any protective coatings or residues. Ensure the surface where the disc will mount is also clean and free of debris.
Step 2: Installing the Brake Disc
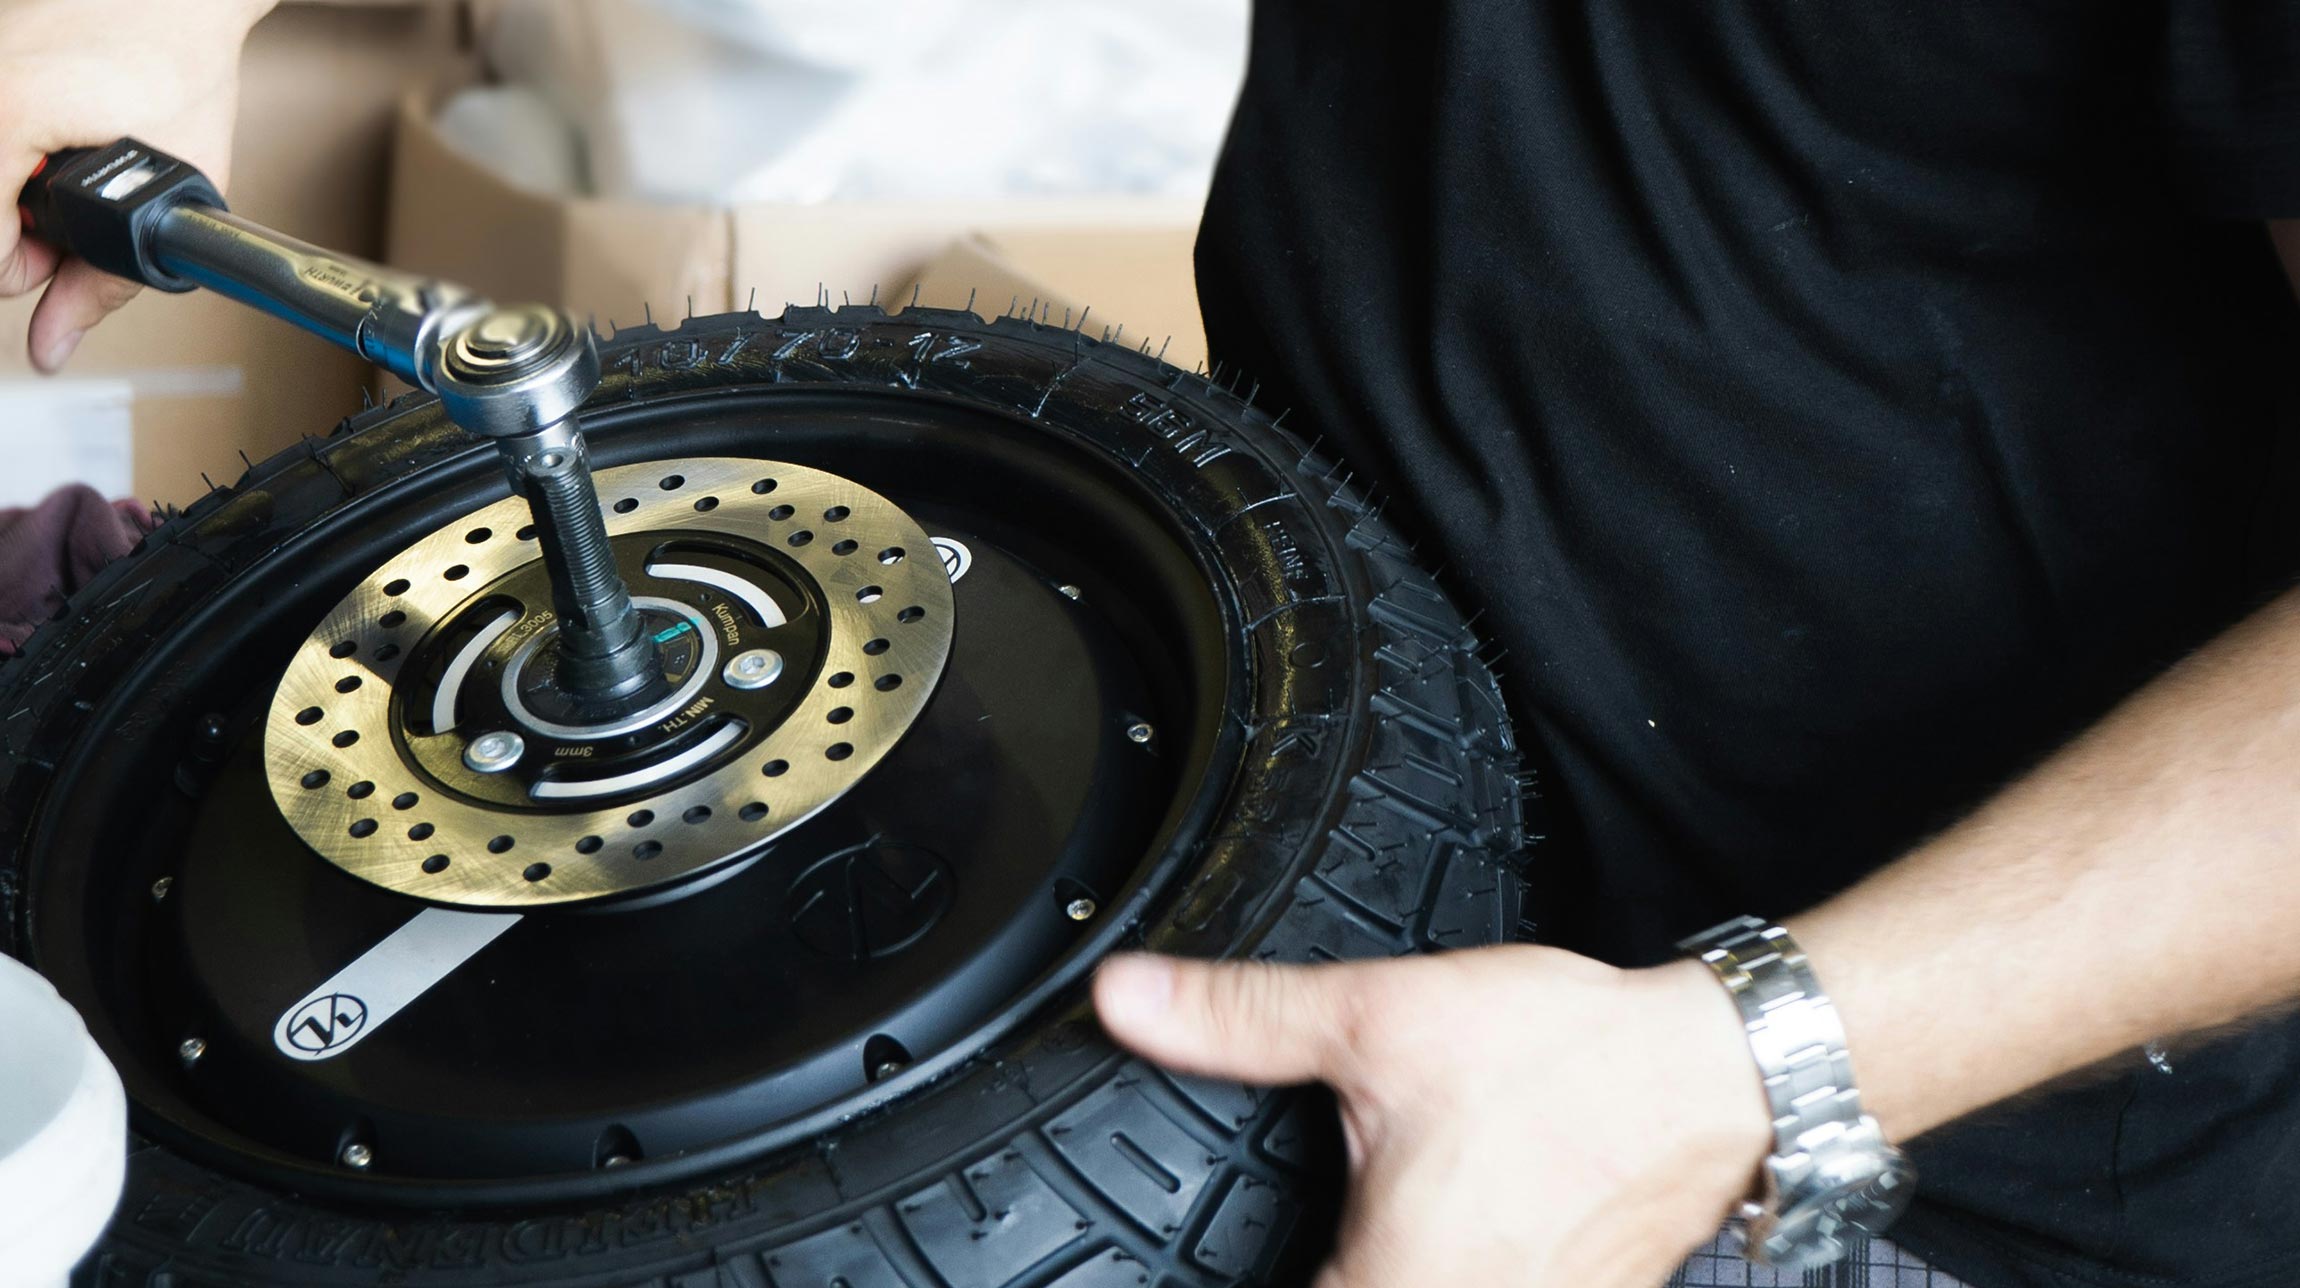
Slide the new brake disc onto the wheel hub. Align it properly to ensure it sits flat. If your vehicle uses retaining screws, reinstall them to secure the disc.
Step 3: Reinstalling the Caliper Bracket and Brake Pads
Place the caliper bracket back into position and secure it with its bolts. Apply a thin layer of brake grease on the back of the brake pads (avoid the friction material) and place them in the caliper bracket.
Step 4: Compressing the Caliper Piston and Reinstallation
Using a C-clamp or brake caliper tool, compress the caliper piston back into the caliper. This step is necessary to fit the caliper over the new, thicker brake disc. Once compressed, carefully position the caliper over the new brake pads and disc and secure it with its bolts.
Final Steps and Testing
Step 1: Reinstalling the Wheel
Put the wheel back onto the hub, screwing the wheel nuts on by hand. Lower the vehicle back to the ground using the jack and then tighten .
Step 2: Testing and Alignment Checks
Before driving, press the brake pedal several times to ensure the brake pads are properly seated against the disc. Check for any unusual noises or resistance. It’s also advisable to perform a few low speed stops to ensure everything is working correctly.
Step 3: Torque Specifications and Final Checks
Consult your vehicle’s service manual for the correct torque specifications for caliper bolts and wheel nuts. Using a torque wrench, ensure that all bolts are tightened to these specifications. Double-check all components for proper alignment and secure fitting.
Tips for Ensuring Proper Installation
. Always refer to the vehicle's specific service manual for detailed instructions and torque specifications.
. Never rush; take your time to ensure each step is done correctly.
. After installation, monitor the brake system’s performance closely for any signs of issues, such as unusual noises or vibrations.
By following these steps, you can ensure a successful installation, enhancing your vehicle’s safety and braking performance. Regular checks and maintenance following installation are crucial to sustain the longevity and efficiency of the new discs.
Brake Disc Maintenance Best Practices
Regular inspections, cleaning, and understanding when to replace worn components are all part of effective brake disc maintenance. This section covers the best practices for keeping your brake discs in top condition.
Routine Inspection and Cleaning Guidelines
Regular Inspections
Conduct routine inspections of your brake discs. This can be done during tire rotations, oil changes, or at specific intervals recommended by your vehicle's manufacturer. Look for signs of wear such as scoring, cracks, or significant rusting.
Cleaning
Brake discs can accumulate dust and debris, which can affect braking performance. Clean the discs using a brake cleaner spray. Apply the spray liberally to the disc surface and wipe away any dirt or residue with a clean cloth. Ensure the cleaner has completely evaporated before driving.
Identifying Wear and Tear
Signs of Wear
Common indicators of wear include a decrease in braking performance, unusual noises during braking, and visible grooves or scoring on the disc surface. If the disc surface isn't uniformly shiny or if there are noticeable ridges at the edges, these are signs that the discs are worn.
Thickness Check
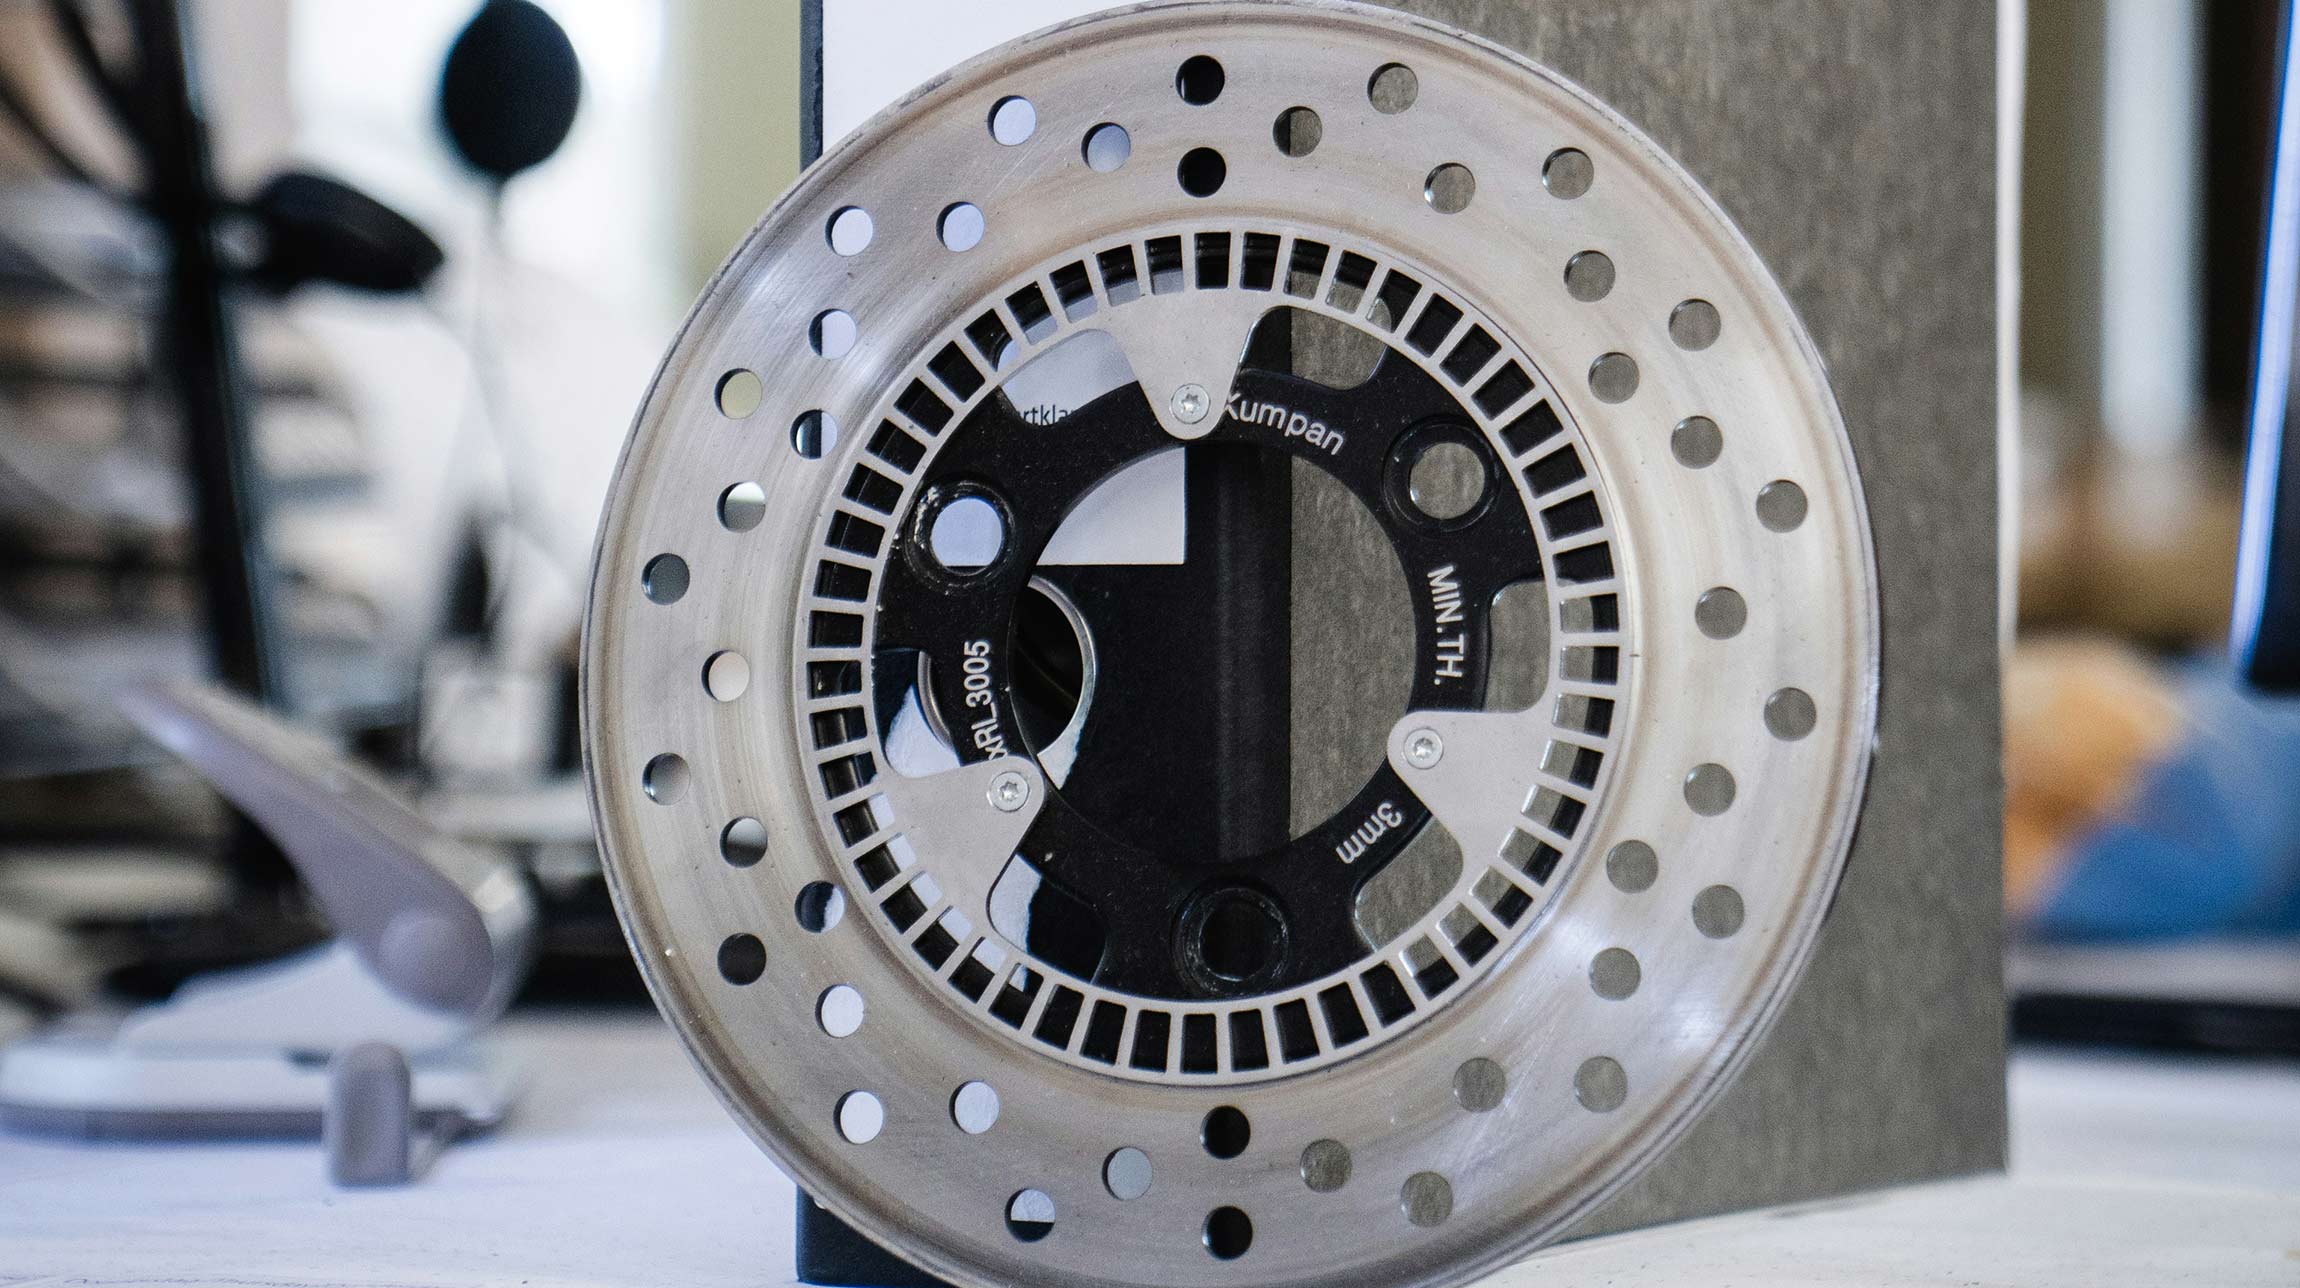
Use a micrometer to measure the thickness of your brake discs. Compare this measurement to the minimum thickness specification provided in your vehicle's service manual. If the thickness is at or below this specification, it’s time to replace the discs.
Maintaining Brake Disc Efficiency
Driving Habits
Good driving habits can prolong the life of your brake discs. Avoid sudden stops and aggressive braking, as these practices can cause excessive wear. Try to brake smoothly and gradually whenever possible.
Periodic Checks
In addition to routine inspections, keep an eye on your braking performance. If you notice any changes, such as longer stopping distances or vibrations when braking, have your brake system checked by a professional.
Brake Pads
Regularly check and replace brake pads. Worn brake pads can damage brake discs. Ensure the pads are compatible with your discs and are of good quality.
Importance of Quality Parts and Materials
Quality Replacements
Always choose high-quality replacement parts for your brake system. Inferior quality discs can wear out faster, potentially compromising safety and performance.
Compatibility
Ensure that replacement parts are compatible with your vehicle's make and model. Using the wrong type of brake disc can lead to inefficient braking and increased wear on the braking system.
Professional Advice
If in doubt, seek professional advice when selecting brake discs. Automotive experts can recommend the best options based on your vehicle type and driving habits.
Incorporating these best practices into your vehicle maintenance routine will not only prolong the life of your brake discs but also ensure your vehicle remains safe and reliable on the road. Remember, the brake system is a critical safety component, and as such, it deserves your attention and care.
Safety Precautions During Installation and Maintenance
Ensuring safety is paramount when working on a vehicle's brake system. Adhering to safety measures can prevent accidents and injuries, making the process of installation and maintenance safer and more efficient.
Critical Safety Measures
Proper Lifting and Support
Always use a sturdy jack and reliable jack stands when lifting your vehicle. Ensure that the car is securely supported before starting any work. Never rely solely on a jack for support.
Wheel Chocks
Place wheel chocks around the wheels that remain on the ground to prevent the vehicle from moving.
Using the Right Tools and Manufacturer Guidelines
Appropriate Tools
Use the correct tools for the job. Using inappropriate or makeshift tools can lead to accidents or damage to the vehicle.
Manufacturer’s Guidelines
Always refer to your vehicle’s service manual for specific instructions related to brake disc installation and maintenance. Following these guidelines ensures that the process aligns with the technical requirements of your vehicle.
Safe Working Environment
Proper Lighting
Good lighting is crucial for safety. Work in a well-lit area to clearly see what you are doing, reducing the risk of mistakes or injuries.
Protective Gear
Wear appropriate safety gear, including gloves to protect your hands from sharp objects and contaminants, and safety glasses to shield your eyes from debris.
Organised Workspace
By taking necessary precautions, using the right tools, and following manufacturer guidelines, you can ensure a safe and successful installation and maintenance process. Remember, if you’re ever in doubt or lack the proper tools or environment, it’s always best to seek assistance from a professional.
News and blogs
-

Could Doriane Pin be the Next Woman in Formula 1? And Why Engineering Matters More Than Ever
18th Dec 2025
Read More -

Glorious Goodwood: The Need for Speed
1st Aug 2025
Read More -
How A New Seat Belt is Set to Improve Accident Survival
10th Jul 2025
Read More -

Is The AirCar the Future of Mobility?
30th May 2025
Read More -

Top 12 Strangest Driving Laws From Around The World
25th Apr 2025
Read More -

Over The Air Software Updates: What Are They and Do They Really Increase The Value of Your Car?
12th Mar 2025
Read More -

Ferrari's First Fully Electric Car: What We Know So Far
19th Feb 2025
Read More -
The Future of Brake Calipers: Innovations and Trends
27th Jan 2025
Read More -

How Often Should You Replace Your Brake Calipers?
27th Jan 2025
Read More -

How to Choose Brake Calipers for High-Performance Vehicles
27th Jan 2025
Read More


